Building a 1/6 Scale Douglas World Cruiser pt.IV
May 25, 2003
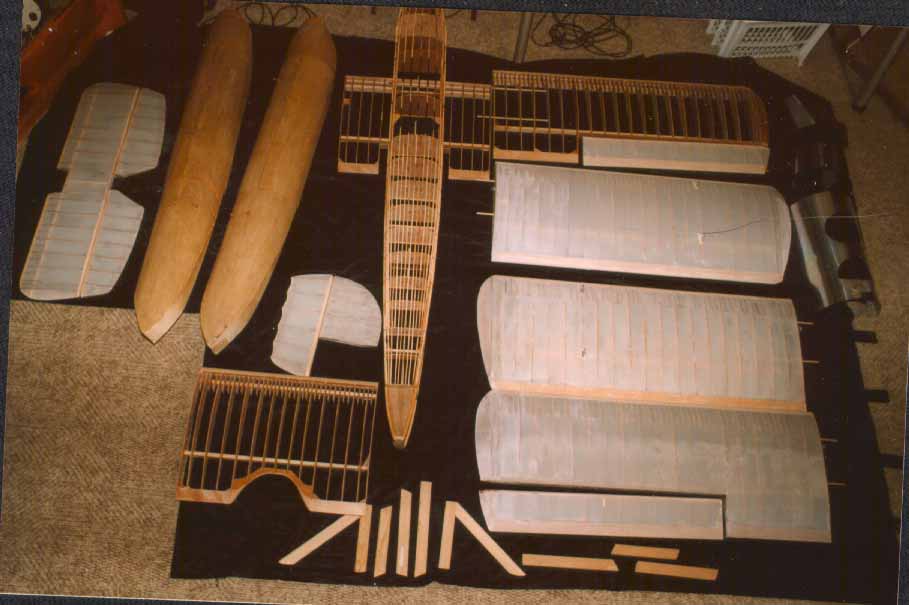
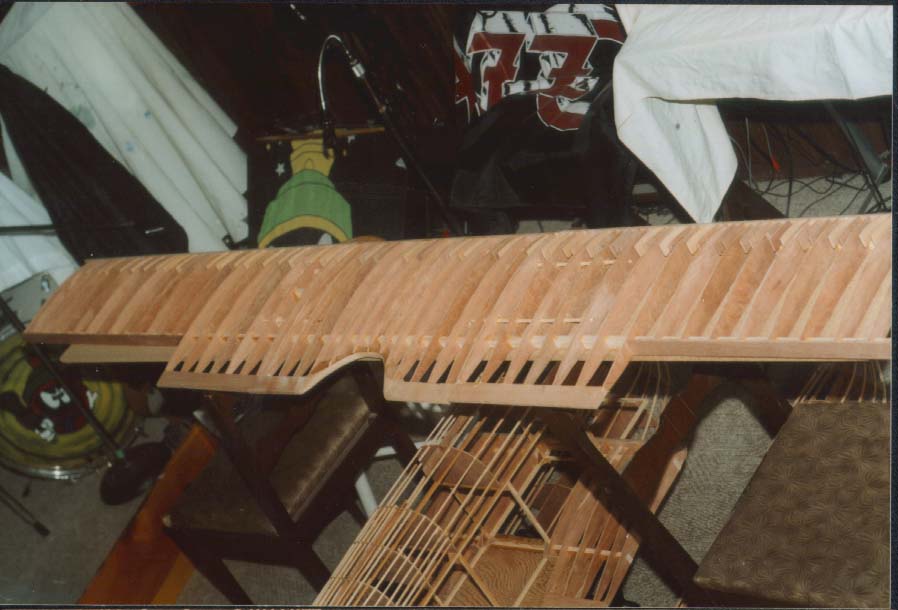
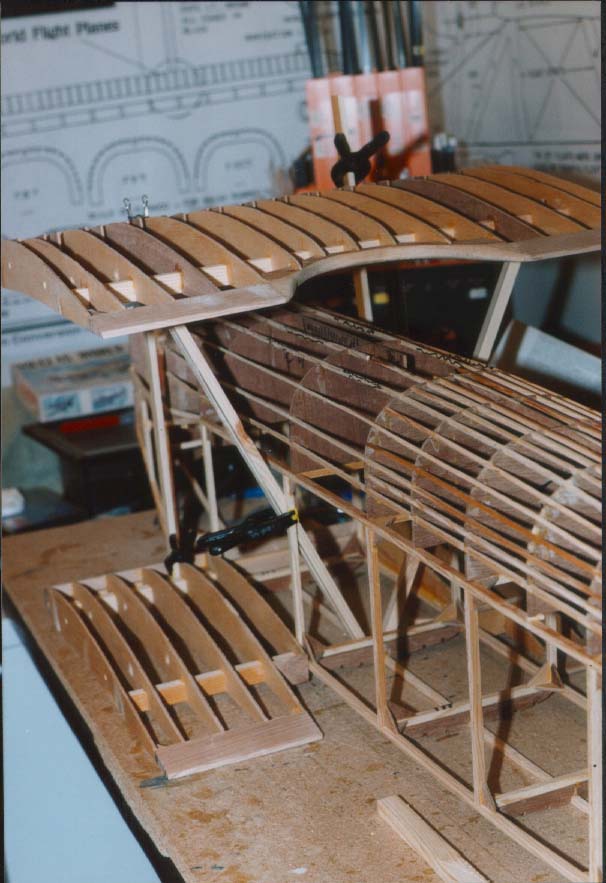
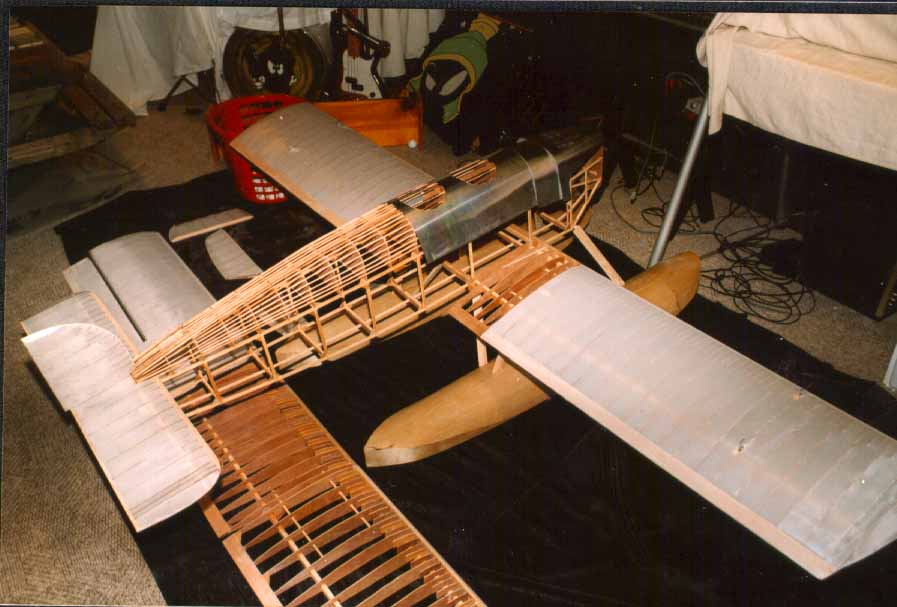
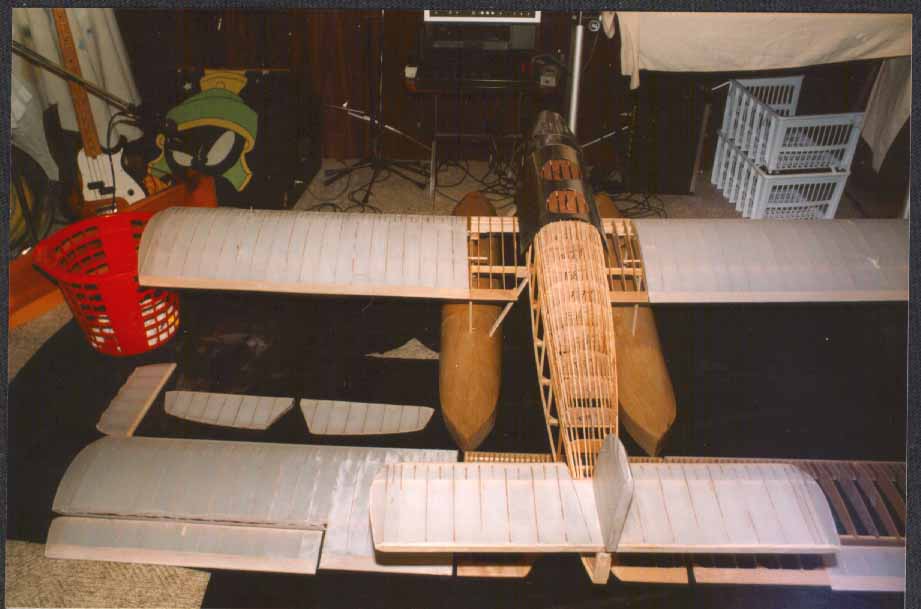
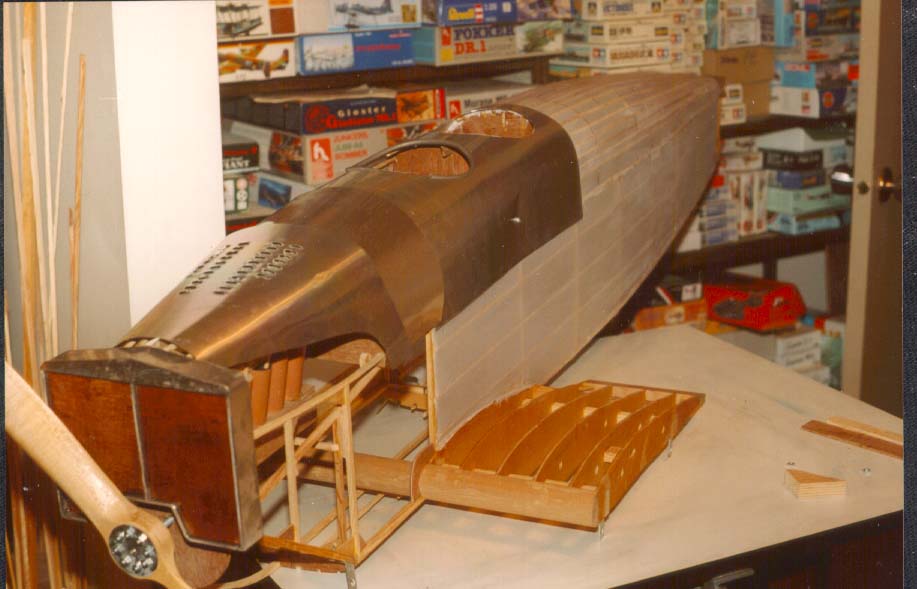
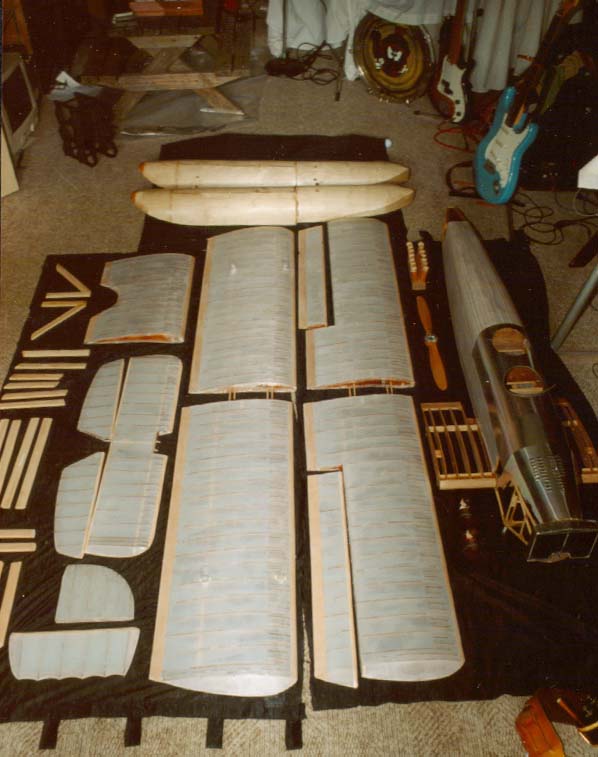
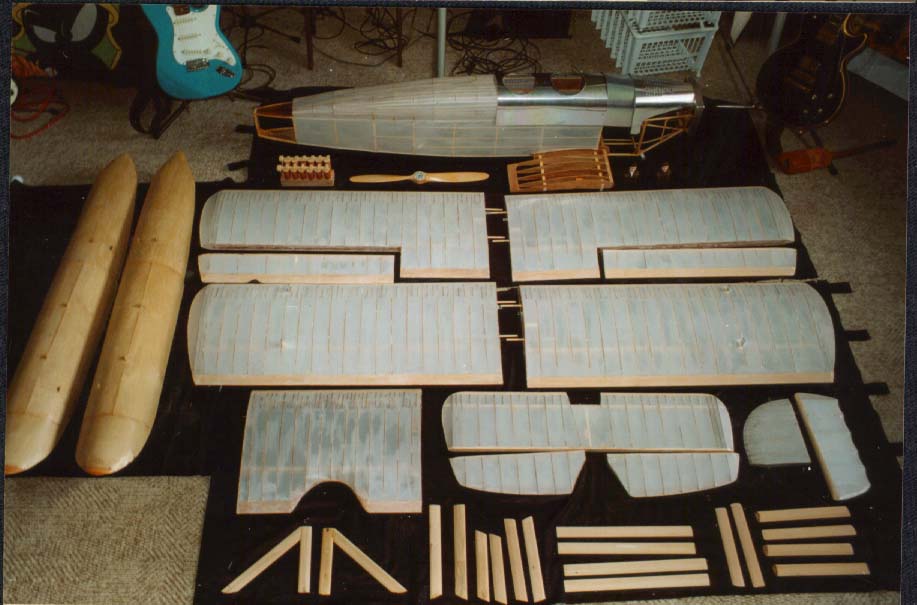
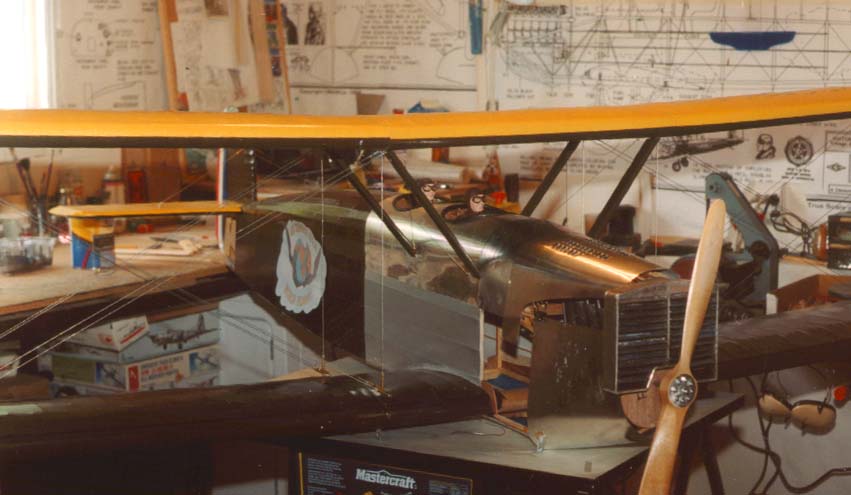
- The last three weeks have seen fabric attached to the various
components as well as the method of attaching the centre section finally
decided on. This time around there are photos of most of the model covered.
These were taken while I was waiting for my second order from Great
Hobbies to arrive (I had run out of nitrate dope, hence the uncovered
fuselage, wing and centre section - these have since been covered and
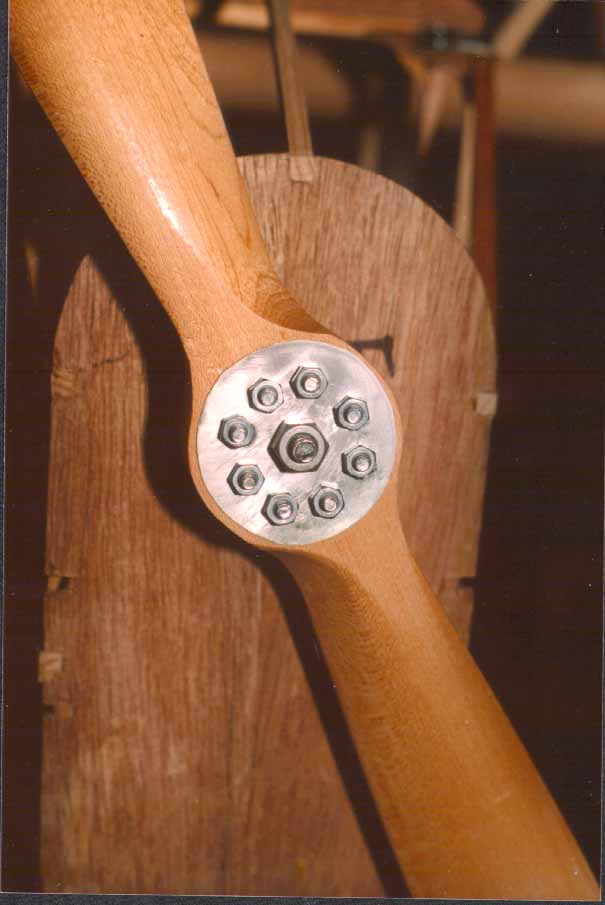
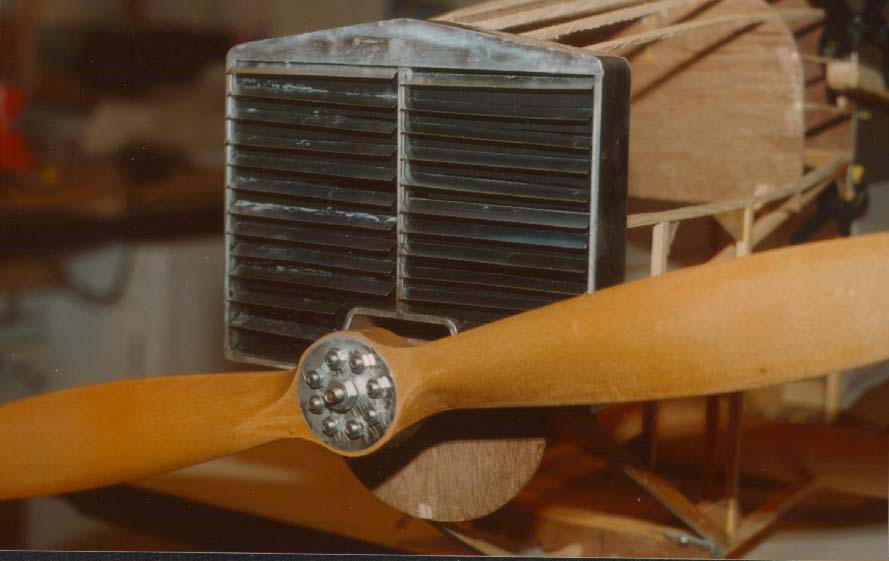
the film will be developed tomorrow.The propellor was found for me by
another list member, and I reshaped the tips of it and added the boss
and bolts. They aren't too accurate, but they do improve the look of it.
June 15, 2003: Yes, this is AFTER the deadline
that was previously mentioned. A week prior to it, I received a call saying
that it has been put off until September due to conflicting schedules,
so I can slow down the pace a little. Within the last couple of weeks
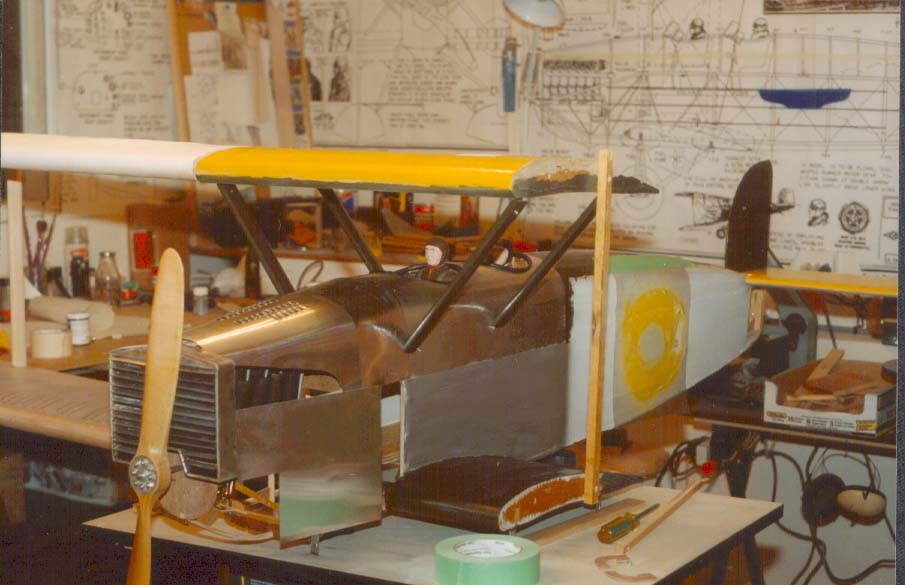
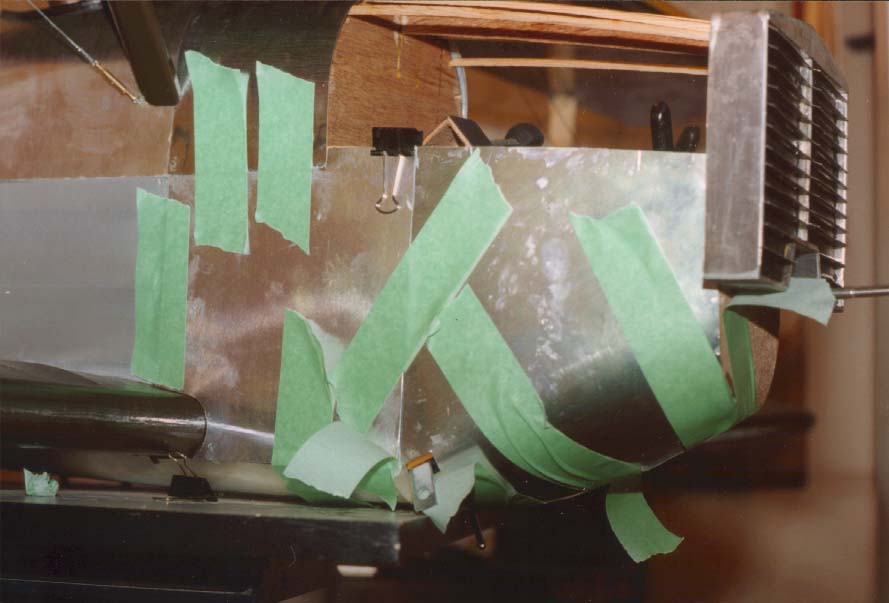
I have added the radiator,finished most of the painting and the wings
are now in place and the model is once again in the bandroom pending a
cleanup of the workshop.
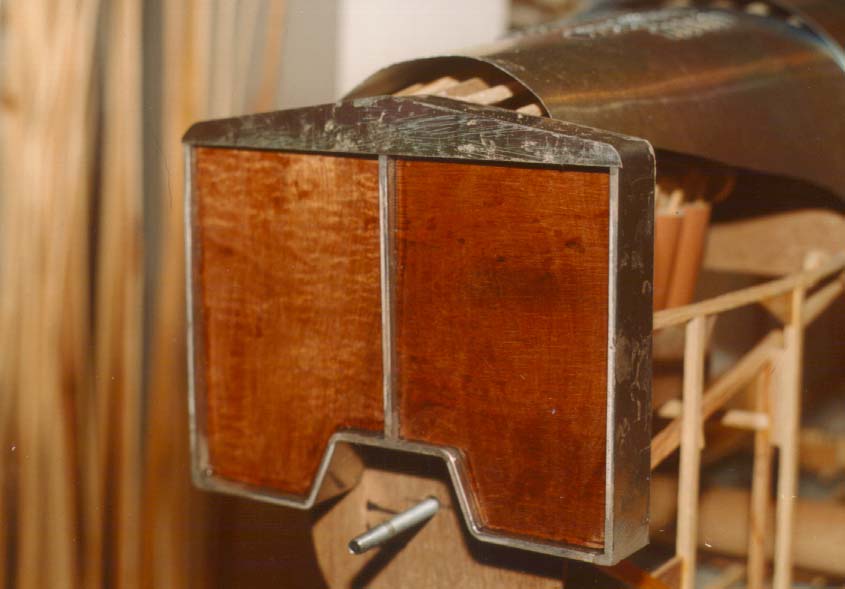
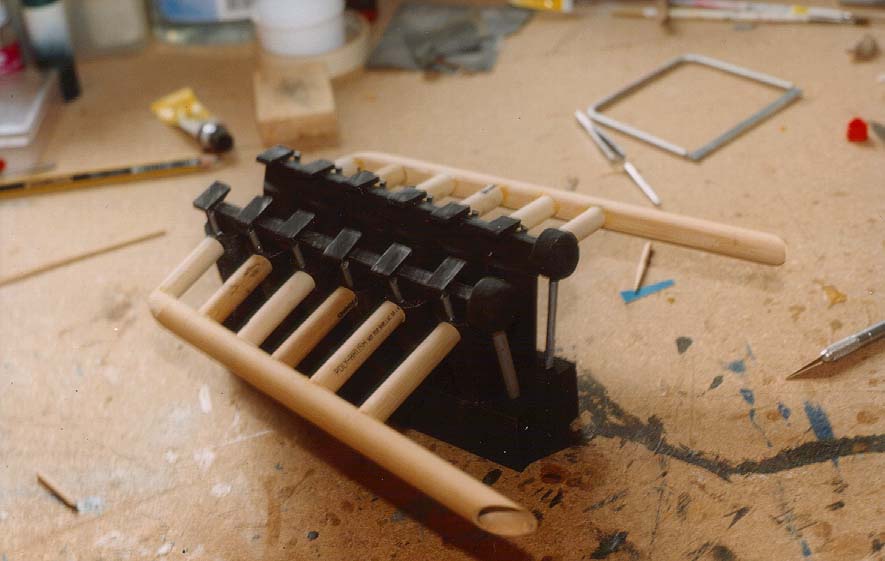
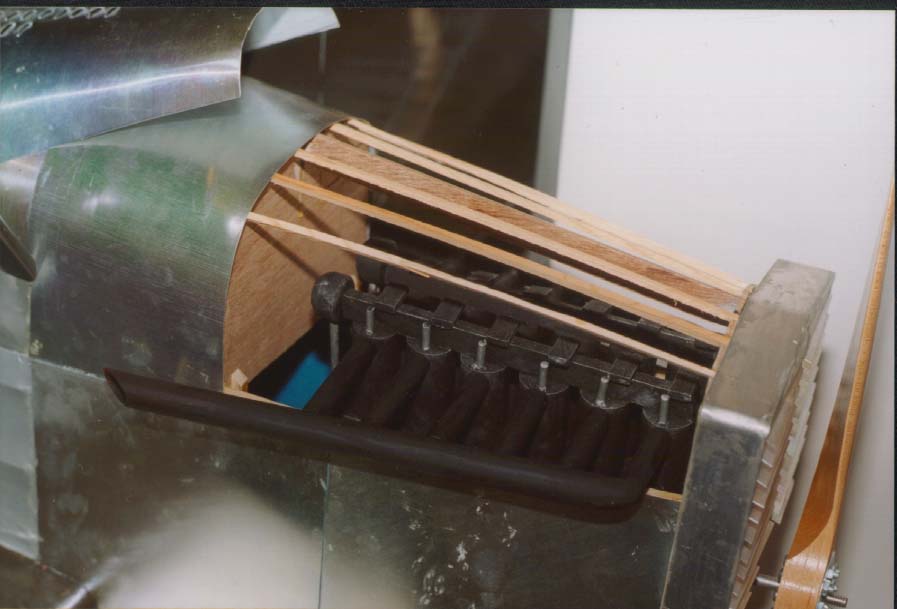
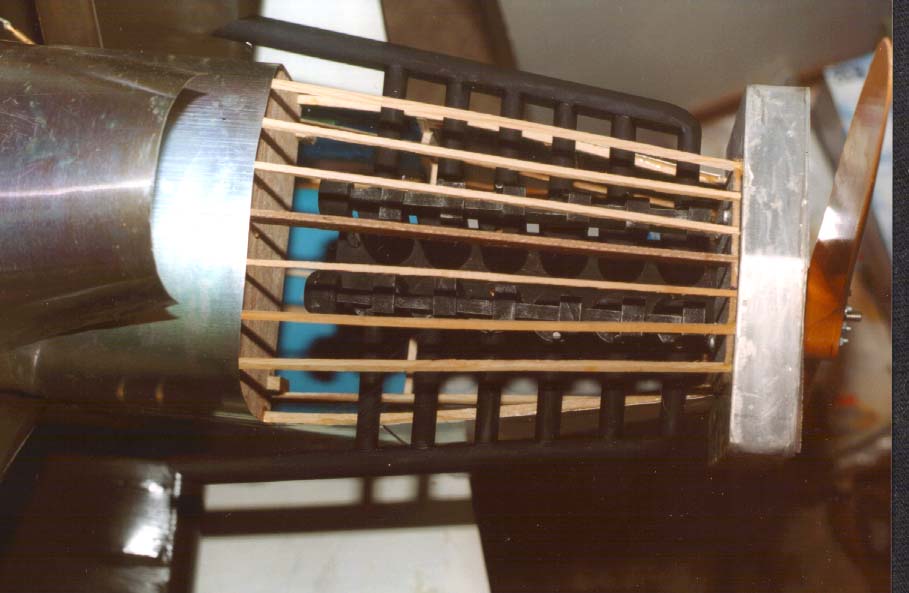
The radiator came about due to a local airline
wishing to be involved and the suggestion was made that they could see
about making a radiator. So they paid for a local machine shop to make
the outline of the radiator for me. I added the triangular top, back,
inside and the louvres. They did a nice job of it and it sure saved me
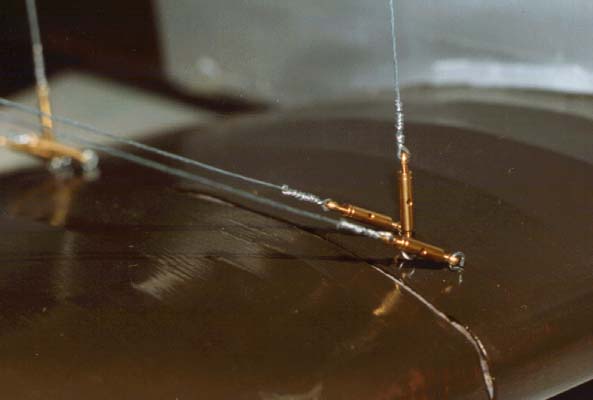
the hassle of doing one up. So far the radiator, pilots, prop and turnbuckles
are the only items not scratchbuilt.
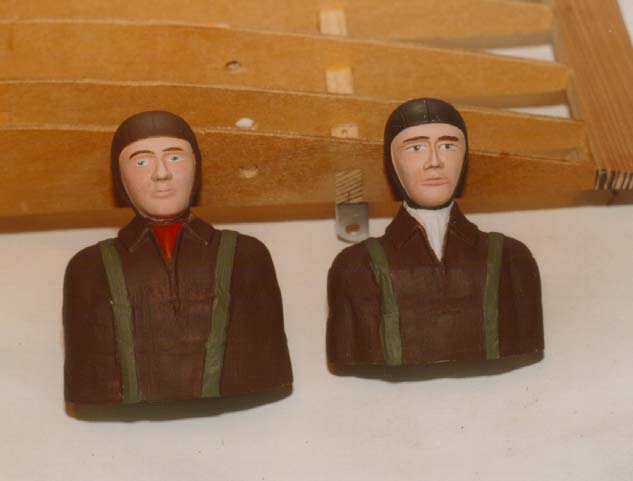
The pilots are the 1/6 scale Williams Brothers kits with a bit extra
added to the bottom so they look like they are inside the cockpits and
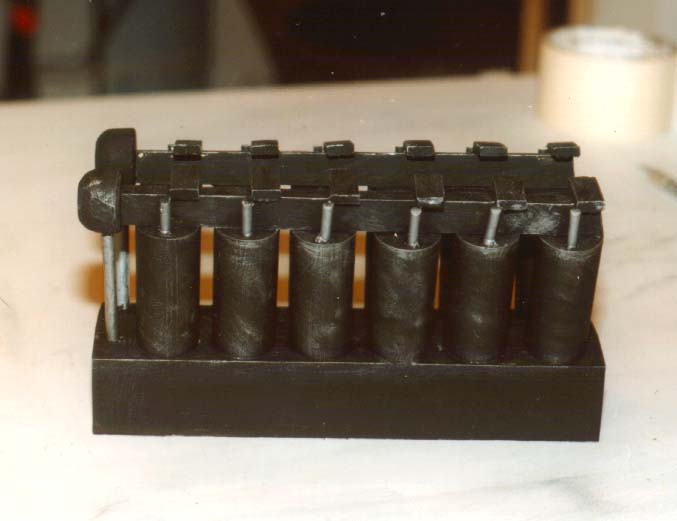
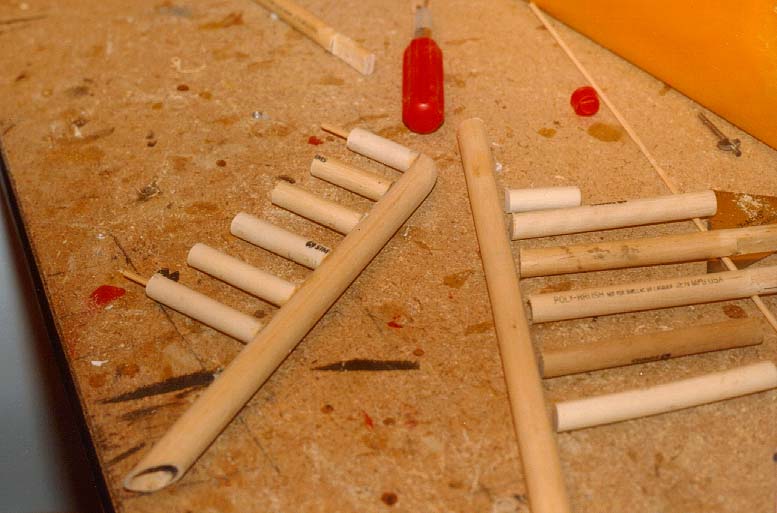
not chopped off at the shoulders. The engine is just something to fill
the space, even so, it is 60 pieces and I still need to make the exhaust.
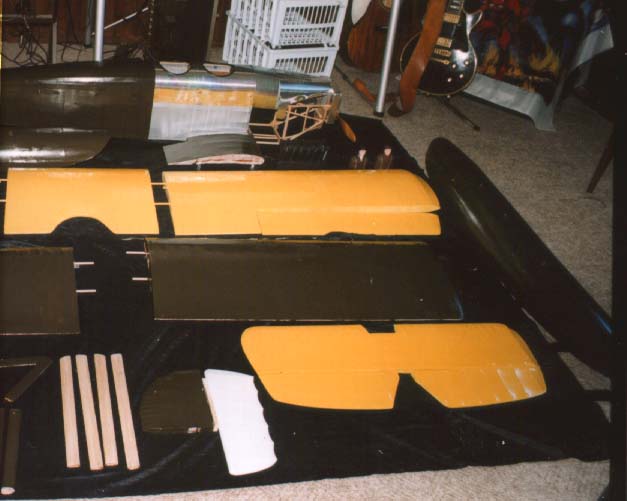
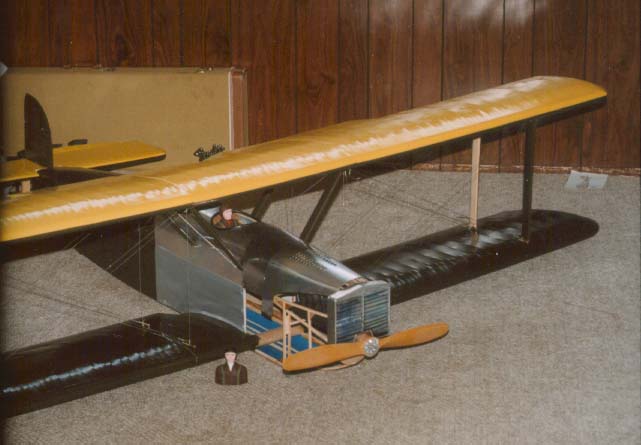
The last two shots are of it all painted and with the wings in place.
I had the flash speed set wrong, so 1/4 of each shot is missing.
JULY 22 Not much done in the last
month. Added the cowl panels and finally made the exhausts.
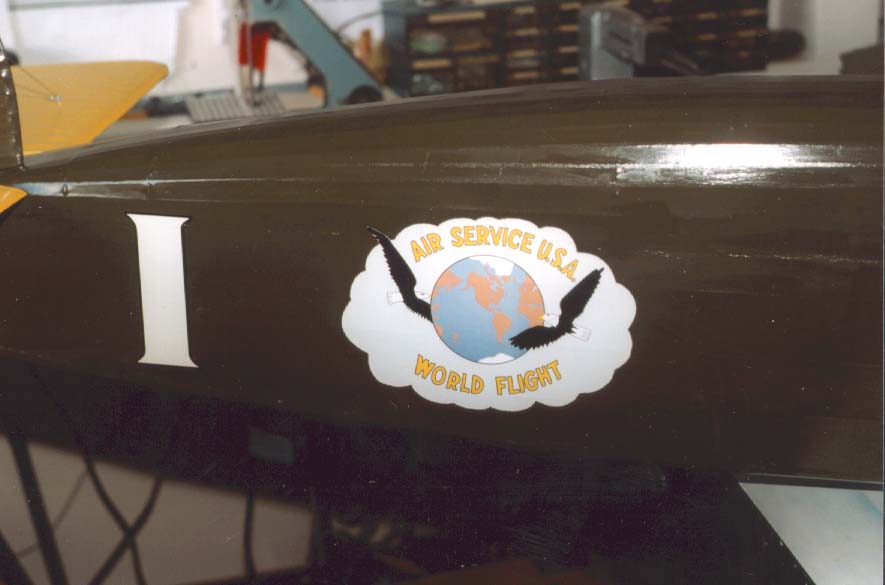
July 30th. Ohboyohboyohboy. ... last week
the decals finally arrived. One of my friends on the WWI
mailing list arranged some vinyl press-on USAS insignia and 'Round
the World Flight' logos from an R/C buddy of his who owns a sign company.
These went on quite nicely, and saved masking and spraying the various
markings. Thanks Tom.
Also shown is the completed cowl with the exhausts in place. I disassembled
the model last night (five minutes work!!!) and have now epoxied the lower
CS struts to the CS and fuselage. Today, I am epoxying the float struts
to the floats – they will attach to the airframe by screws. After
that, all that remains is to add the ailerons and tailstruts.
I now plan to reassemble it outside and shoot an entire roll of it from
all angles. .. the suggestion has been made to place it into the kiddie
wading pool – but I don't think I'm that brave!!!
|